Hey CRC fans! I would like to share some great news and also an easy tutorial with you by presenting this little footage!
It doesn’t look like such a big deal but I was messing around with the game again as usual and I’ve decided to step to a new level and gain some experience in customized suspension animation.
As most of us know, CRC has a pretty much detailed and developed physics engine and it has tons of variables in use to generate real life behavior and physics for the car.
If there’s something that I’ve never tried to figure out, it must be the skeleton/bone based meshes.
I’ve started this journey by creating a live axle suspension for a car, using the default assets of Cross Racing Championship, based on the Pickup truck.
What does that mean?
After observing the structure of the pickup’s rear suspension, I was able to use it and implement into my new addon car (that will be revealed soon, don’t worry). But as I was expecting, the game’s simplest suspension parts haven’t made me satisfied…
…so I decided to get into learning and creating bone based meshes to replace those elements of the suspension!
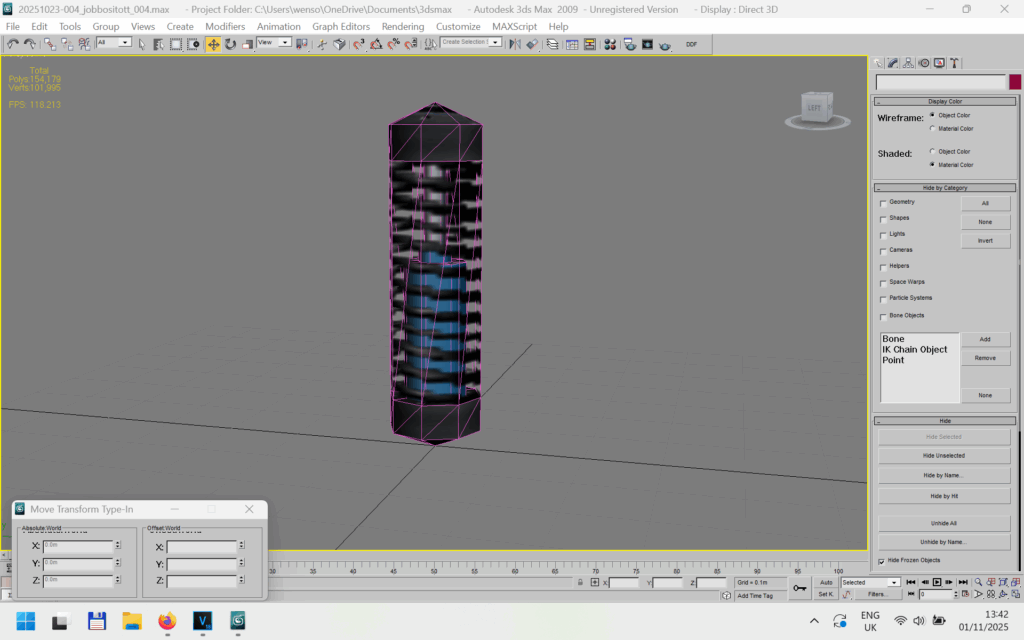
The original spring and coil-over model of the game
First, I needed something that I could start with. I opened up the original coil-over to examine. As most of you have seen, they look quite odd, both spring and coil-over is in the same mesh and they’ve got the same length.
I’m not saying this setup does not exist in real life but every single car uses the same object and it is just not right.
Then I separated the original elements of the coil-overs into different pieces.
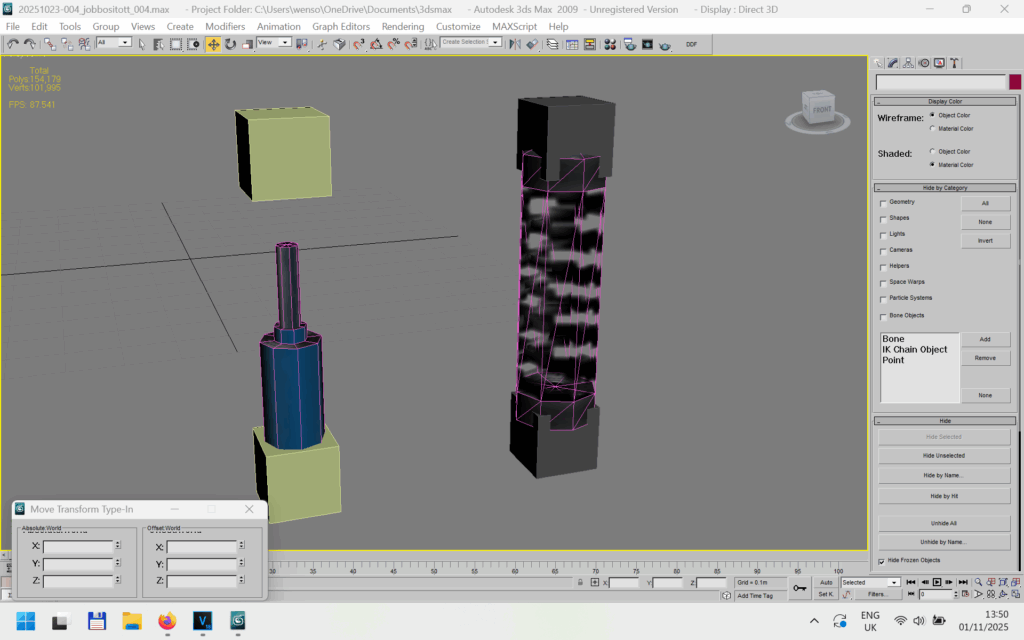
Now I could finally manage to add the springs and coil-overs separately on the rear axle, just as the real car as in real life.
Keep checking the results in the game
This was the first moment of success and it made me to carry on with the rest of the suspension elements.
New suspension models created in 3dsmax
Then I created all the new slots needed for the parts.
chassis.cfg
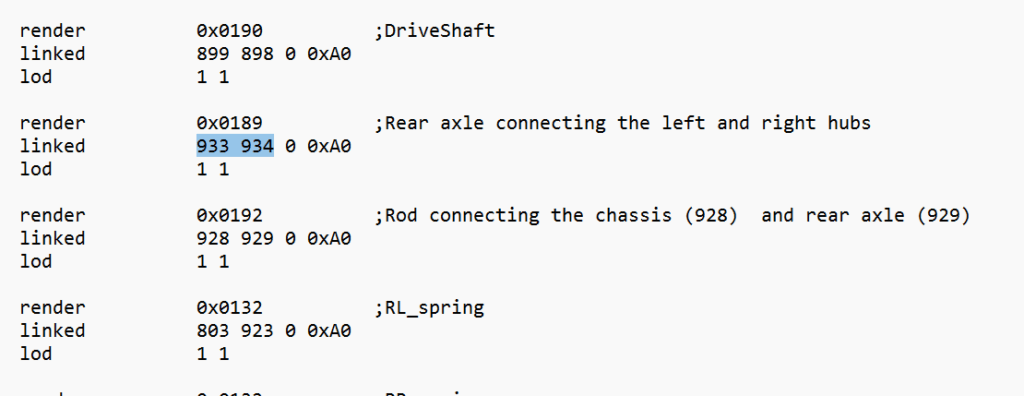
In SLRR, CRC and LASR, you can actually link a render object (part) between two slots and this is why it’s important to create those specific parts using bone structures.
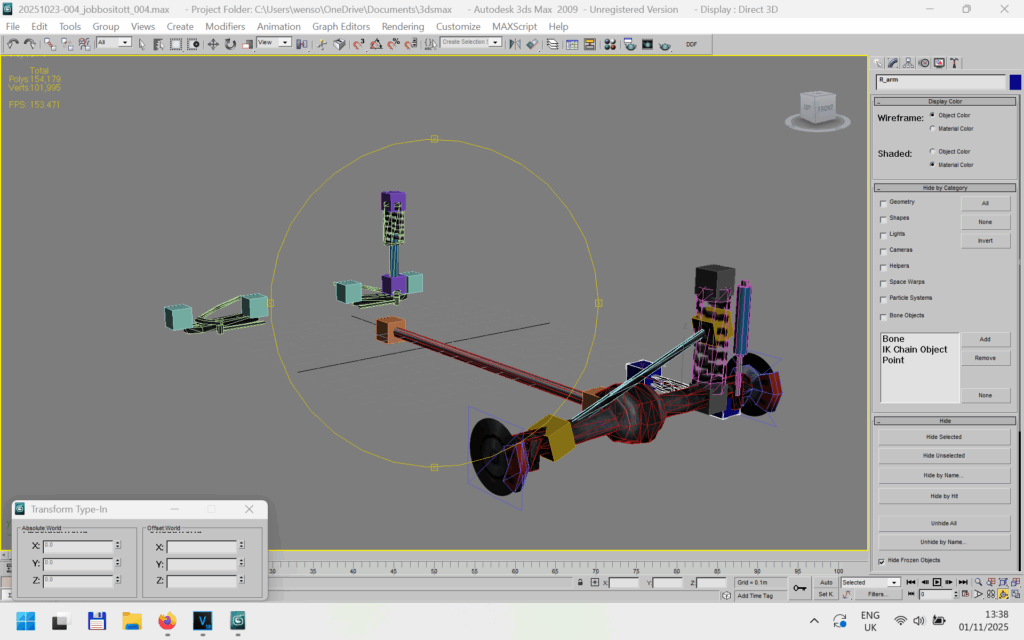
Imagine like a skeleton with ending points. The same technic is used in character animation of game development.
In order to get these parts working right, you must create primitive geometries in 3dsmax and place them to the ending, moveable points of the parts and execute the SKIN modifier on the mesh.

Edit the vertexes in envelope mode to get the best result. Animation can be checked during running time too.
When it’s done, export them to SCX and make sure the animation checkbox is selected on the exporting panel.
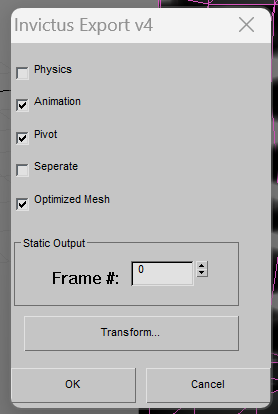
Once it’s all done, you will get your SCX and TEX file as usual and a *.skl file. Rename it to *.bon and make sure you place them next to your SCX.
To make these new parts animated, they also must be set up in RESCONVERT, so the game will know that they can be animated.
To do this, set their flag under RES_MESH to 8.0. This flag number applies to CROSS RACING CHAMPIONSHIP, in other games I haven’t tried it but do your research.
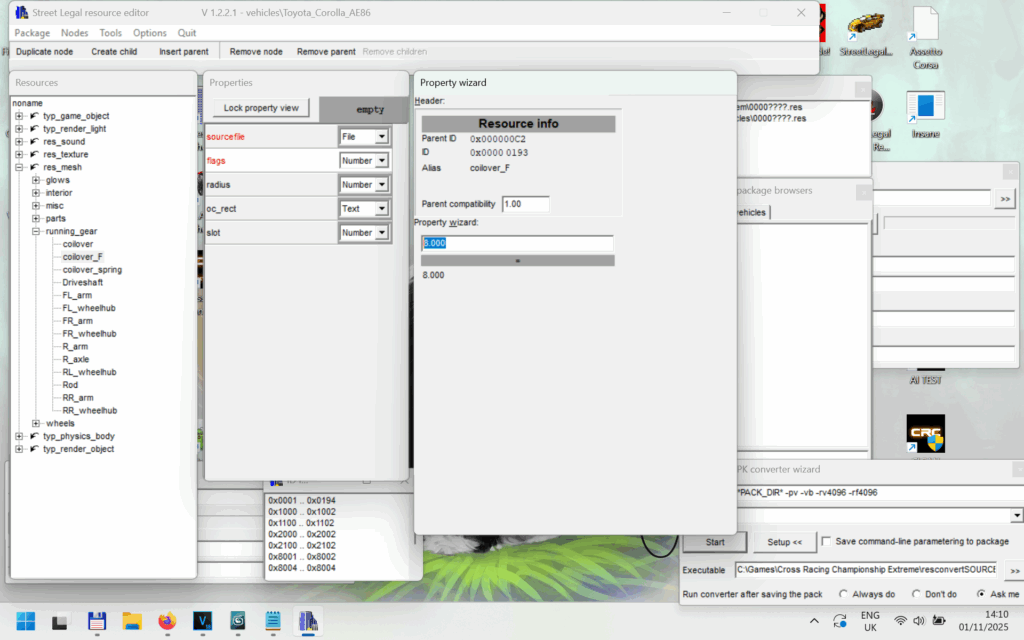
Resource Manager
Complete the same process for the rest of the objects and here come’s the result:
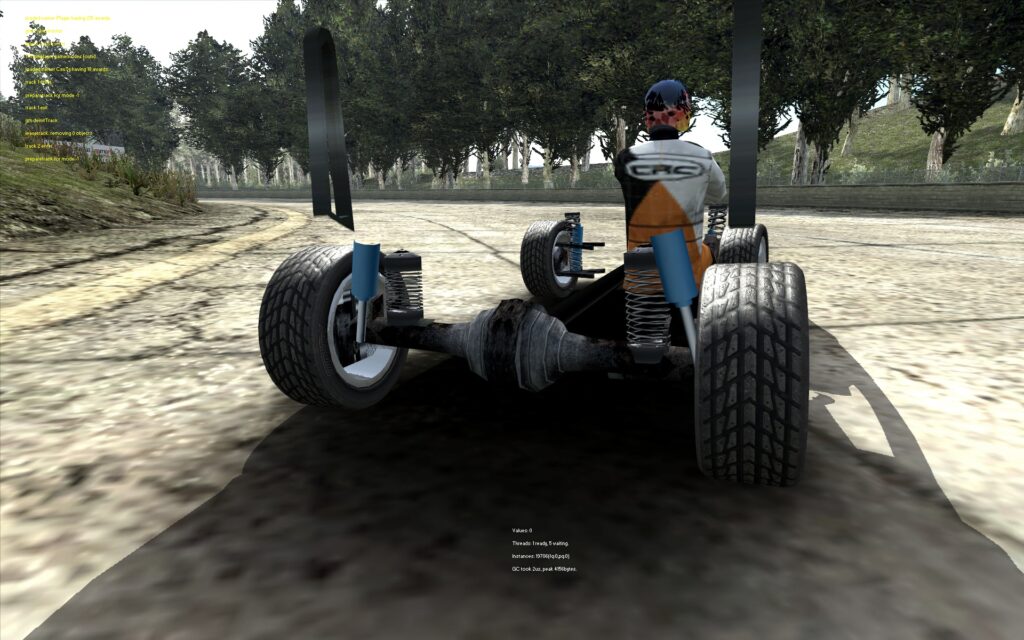
Custom made, complex suspension system that players have never seen in CRC!
Final, completed version of the new suspension, including new front struts, coil-overs, springs, rear arms, wheel hubs and connecting rods
Early on-road testing by using the default suspension assets
Early off-road testing by using the default suspension assets